
Your workboots are far more than just something you lace up in the morning; they're a critical piece of your personal protective equipment. Properly cleaning and maintaining them involves a simple routine: daily debris removal, weekly deep cleaning with material-specific products, and regular conditioning to prevent cracking. Sticking to this schedule protects your investment, preserves the boot's safety features, and makes sure your gear is ready to perform when you need it most.
Why Consistent Workboot Care Is Non-Negotiable
Thinking of your workboots as just another pair of shoes is a costly mistake. They are a high-performance tool, and just like any other tool in your kit, they need regular maintenance to function correctly. Letting them get caked with mud and grime doesn't build character or make them tougher; it actively shortens their lifespan and, more importantly, compromises your safety on the jobsite.
A few minutes of attention at the end of each shift is the single best investment you can make in your gear. It's what stops the slow, destructive grind of everyday hazards in its tracks.
The Slow Destruction of Neglected Boots
Accumulated dirt, grime, and moisture are the biggest enemies of your boots. Caked-on mud acts like a sponge, drawing the natural oils right out of the leather. This causes it to dry out, become brittle, and eventually crack—and that’s not just a cosmetic issue. It weakens the entire structure of the boot.
It gets worse. Jobsite chemicals, road salt, and oils can dramatically speed up this breakdown. These substances will eat away at stitching, compromise the adhesives holding the sole together, and even damage waterproof membranes. Without regular cleaning, these corrosive elements just sit there, silently breaking down the materials day after day.
Proper boot maintenance is a non-negotiable part of personal safety. A compromised boot—whether from a cracked upper or a deteriorating sole—is a failure in your personal protective equipment. It's not about looks; it's about ensuring your gear can do its job.
The Financial and Safety Payoff
The benefits of a simple care routine are easy to see. Regular cleaning can extend the life of high-quality leather workboots by up to two years, turning a typical 1-5 year lifespan into a much more valuable 3-7 years. It starts the second your shift ends: just using a soft brush on dry boots to knock off debris can prevent a staggering 40% of potential leather degradation caused by grime buildup alone. You can find more expert tips for maximizing your boot's lifespan on Nicksboots.com.
This proactive approach saves you money on frequent replacements and, crucially, maintains the boot's safety certifications. For example, a sole clogged with mud or grease completely loses its slip-resistant properties, putting you at a much higher risk of a fall. You can find out more about the importance of safety features in our guide to Timberland PRO workboots. Consistent maintenance isn’t just about cleaning; it’s about upholding the performance standards you rely on every single day.
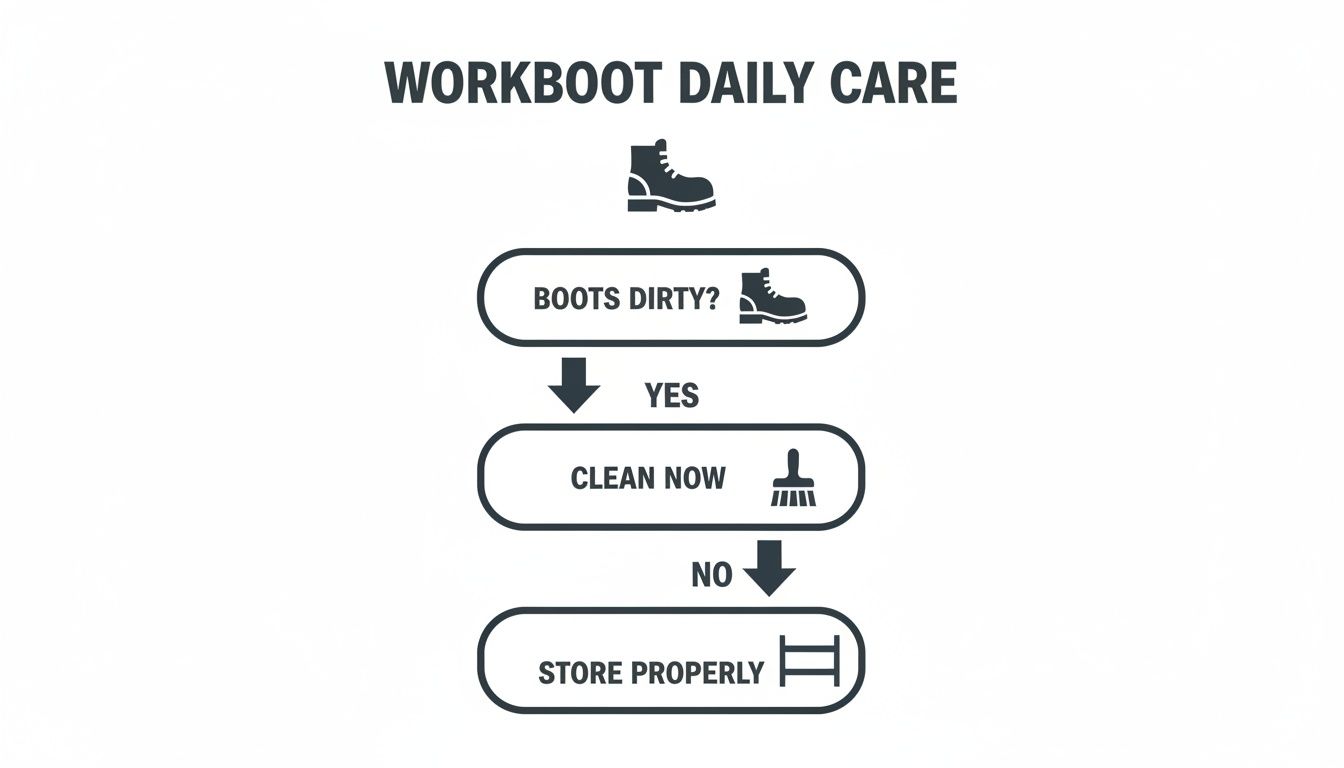
A simple, consistent routine is the key to getting the most out of your workboots. Here’s a quick schedule to help you stay on track, whether you're dealing with leather, rubber, or specialized materials.
At-a-Glance Workboot Maintenance Schedule
| Material Type | Daily Care (5 mins) | Weekly Care (15 mins) | Monthly/Quarterly Care (30+ mins) |
|---|---|---|---|
| Leather/Suede | Brush off dry dirt/mud. Wipe with a damp cloth. | Deep clean with a specialized cleaner. | Condition leather; treat suede with a protectant spray. |
| Rubber/PVC | Rinse with water. Wipe clean. | Wash with mild soap and water. Check for cracks. | Apply a rubber protectant to prevent UV damage. |
| Waterproof | Brush off debris. Wipe clean. | Clean with a boot cleaner. Check membrane integrity. | Re-apply waterproofing treatment as needed. |
| Insulated | Remove insoles to air dry. Brush off exterior. | Clean exterior based on material. Ensure interior is fully dry. | Inspect lining for wear. Check for moisture buildup. |
Following this schedule doesn't just keep your boots looking good—it ensures they continue to meet safety standards and provide the protection you count on, shift after shift.
A Practical Cleaning Guide for Every Boot Material
You wouldn’t treat your suede workboots the same way you handle rugged full-grain leather ones, and doing so is a surefire way to ruin them. Each material used in modern workboots has its own set of rules for cleaning and care. Getting this right is the difference between boots that last for years and ones that fall apart way too soon.
This is where we get into the specifics for the most common materials you'll find on the jobsite. Learning how to properly clean and maintain your boots starts with respecting what they're made of.
Tackling Full-Grain Leather
Full-grain leather is tough, but it’s not invincible. It needs a cleaning process that gets rid of dirt and grime without stripping away the essential natural oils that keep it supple and prevent cracking.
First thing’s first: always pull the laces out. This gives you full access to the tongue and all the seams where gunk loves to hide. Next, grab a horsehair brush and give the boots a vigorous once-over to knock off all the loose, dry dirt and mud. Don't be gentle here; you want to get everything off the surface and out of that welt stitching.
Now you’ll need some saddle soap, a damp cloth, and a bit of elbow grease. Work the saddle soap into a lather on the cloth and scrub the entire boot in small, circular motions. You’ll see the dirt lifting right off. Once you're done, use a separate clean, damp cloth to wipe away all the soap residue.
Pro Tip: An old toothbrush is your best friend for cleaning the welt—that’s the seam where the boot upper connects to the sole. This area is a magnet for grime, and keeping it clean is crucial for the boot's structural integrity.
After cleaning, let the boots air dry naturally, away from any direct heat. Never stick them near a radiator or use a hairdryer, as the intense heat can cause the leather to shrink and crack.
This simple routine is a critical first step. Addressing dirt right away prevents long-term damage and makes those deeper cleaning sessions much, much easier.
Caring for Suede and Nubuck Boots
Suede and nubuck are in a different league entirely. These materials have a napped, velvety texture that’s easily damaged by water and harsh cleaning methods, so they demand a more delicate approach than smooth leather.
Your go-to tools here are a specialized suede/nubuck cleaning kit, which will usually come with a soft-bristled brush and a cleaning "eraser."
- Suede Eraser: For scuffs, stains, or shiny spots, gently rub the eraser over the problem area. It works just like a pencil eraser, lifting the dirt right out of the nap.
- Suede Brush: After using the eraser, grab the brush to restore the material's texture. Always brush in one direction to keep that nap looking uniform and clean.
For tougher spots, you can use a tiny amount of white vinegar on a clean cloth, dabbing the stain gently. Let it dry completely before you brush the nap back into place. For really specific issues, you can check out an expert guide on removing shoe stains which has some great tips that also apply to workboots.
Maintaining Rubber and Synthetic Boots
Rubber and synthetic boots are often the easiest to clean, but that doesn’t mean you can ignore them. They still need regular attention, especially if they’ve been exposed to chemicals or other harsh substances on a jobsite.
A simple mix of mild dish soap and warm water is usually all you need. Use a cloth or a soft brush to scrub away any dirt, chemicals, or oil. Just make sure to rinse them thoroughly with clean water afterward to get rid of any soap residue, which can degrade the material over time.
Pay close attention to the seams and keep an eye out for any signs of cracking or perishing. That’s a red flag that their waterproof capabilities might be compromised. For some extra protection and to restore that factory finish, consider applying a specialized rubber conditioner after they are completely dry.
Building the right cleaning kit for your specific boots is key. The table below breaks down the must-have tools for each material so you can be prepared.
Workboot Cleaning Toolkit by Material
| Material | Essential Cleaning Tools | Recommended Cleaner | Common Mistake to Avoid |
|---|---|---|---|
| Full-Grain Leather | Horsehair brush, soft cloths, old toothbrush | Saddle soap or leather cleaner | Using harsh detergents that strip natural oils |
| Suede/Nubuck | Suede brush and eraser | Specialized suede/nubuck cleaner | Cleaning with water, which can stain and ruin the texture |
| Rubber/Synthetic | Soft brush or cloth | Mild soap and water | Using oil-based products which can degrade rubber |
Properly cleaning your boots is only half the battle. The next critical step, especially for leather, is conditioning. After a deep clean, applying a quality conditioner like mink oil leather care and protection is vital. It replenishes the oils in the leather, keeping it flexible and preventing it from drying out and cracking. This one small step can significantly extend the life and performance of your boots.
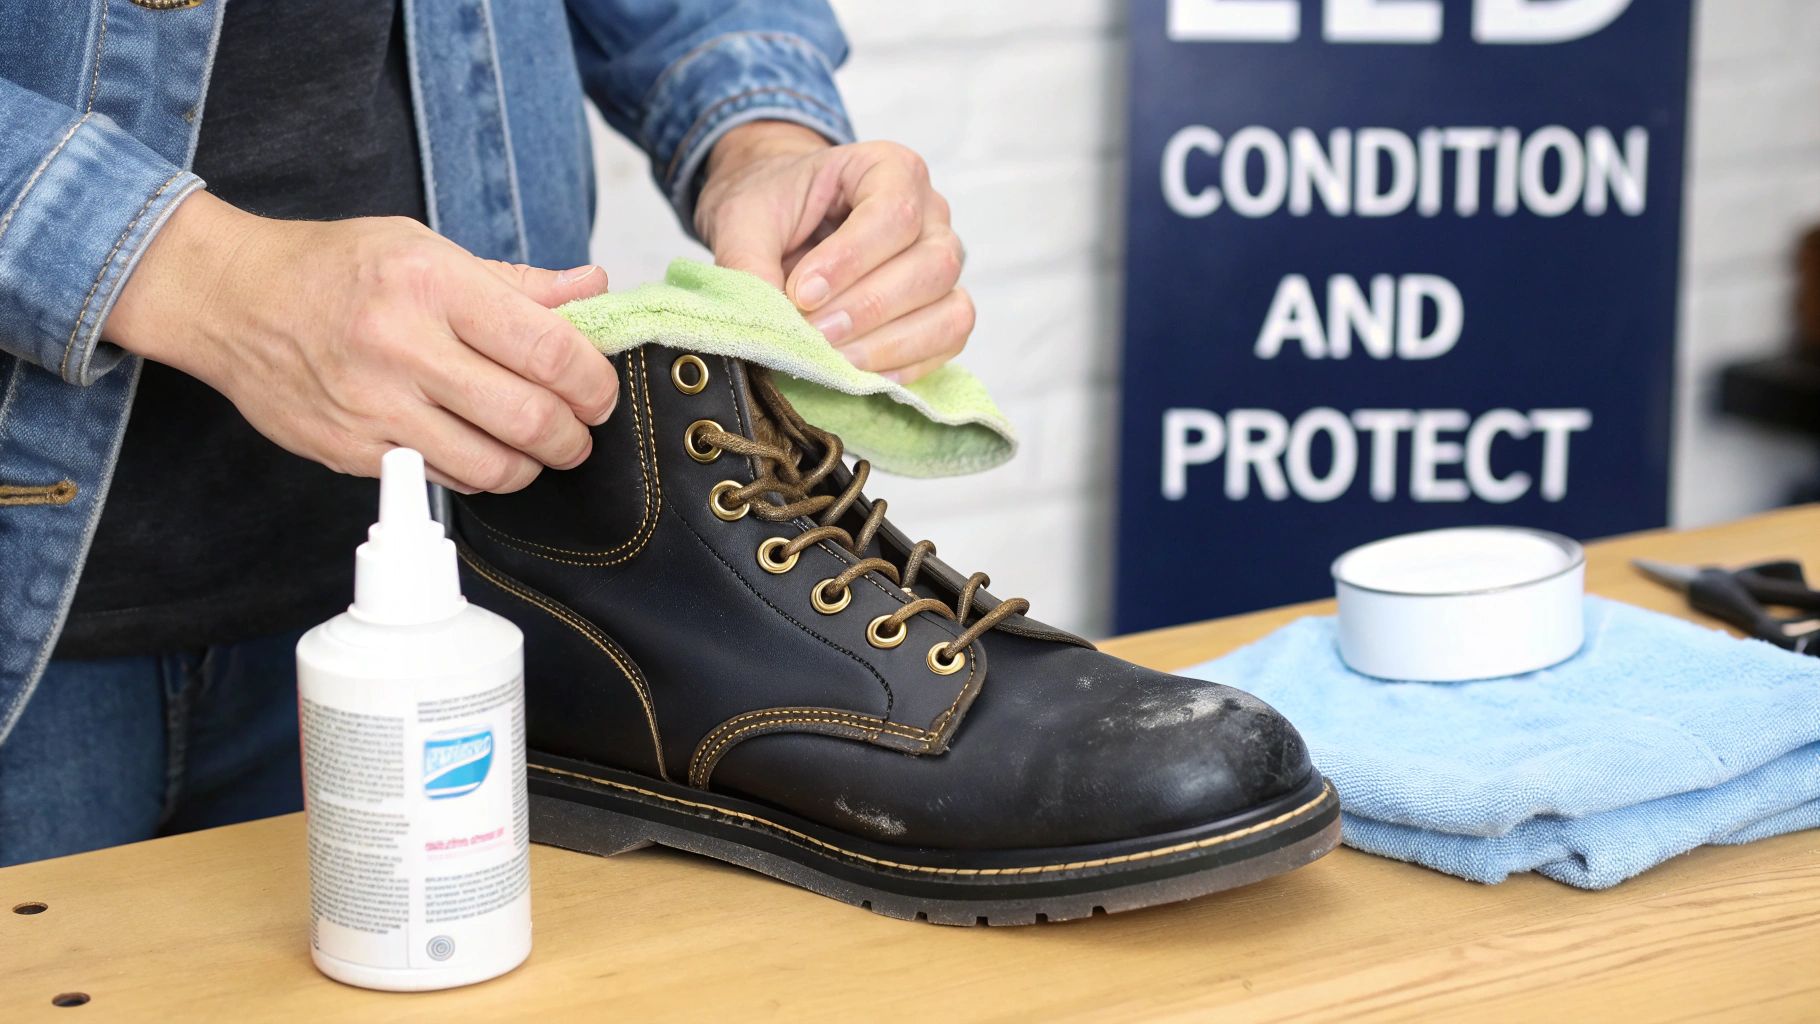
Conditioning and Waterproofing to Protect Your Investment
Just getting the mud and grime off your workboots is only half the battle. The real work in making them last happens next. Conditioning and waterproofing are the one-two punch that protects your investment from the inside out, keeping the materials supple and, most importantly, keeping your feet dry.
Think of quality leather like your own skin. Without moisture, it dries out, gets brittle, and eventually starts to crack. Conditioning is what puts back the natural oils and fats that get stripped away by dirt, water, and even the cleaning process itself. This keeps the leather fibres flexible and strong. Waterproofing, on the other hand, creates a tough barrier that makes water bead up and roll right off before it has a chance to soak in and do damage.
Choosing the Right Product for Your Boots
Not all conditioners and waxes are created equal, and grabbing the wrong one can do more harm than good. The right choice really comes down to your boot’s material and the kind of abuse you put them through on the job site.
- Mink Oil: This is a classic for a reason. It’s perfect for full-grain leather boots, soaking in deep to nourish the fibres and provide excellent waterproofing. If your boots see a lot of moisture, this is a great go-to.
- Beeswax-Based Products: These are the heavy hitters. They create a thick, waxy shield on the surface of the leather, offering maximum water repellency for guys working in seriously wet or snowy conditions. A high-quality boot waterproofing wax is a non-negotiable for winter work.
- Leather Creams and Lotions: Think of these as a lighter option. They’re great for maintaining newer boots or for boots used in less extreme environments. They get the conditioning job done without darkening the leather as much as heavy oils or waxes.
Whatever you do, stay away from products not meant for footwear, like petroleum jelly or motor oil. These will clog the leather's pores, stop it from breathing, and can even eat away at the glues holding your boots together.
The Art of Application for Maximum Protection
Applying conditioner isn't about just slathering it on and calling it a day. It's about getting deep penetration for results that actually last. Always, always start with clean, completely dry boots. A great pro tip is to apply conditioner when the leather is a little bit warm (but not hot!), as this helps open up the pores for better absorption.
Using a clean, soft rag or even just your fingers, work a small amount of the product into the leather using circular motions. Be thorough. Pay extra attention to the seams, the welt where the boot meets the sole, and any high-flex spots like the tongue and ankle. These are the areas most likely to crack or let water in.
Now, be patient. Let the conditioner sit and soak in for at least a few hours—overnight is even better. Once it's had time to work its magic, grab a clean cloth and buff off any excess. This step is key to avoiding that greasy, dirt-magnet finish and gives the leather a nice, clean look.
A classic mistake is over-conditioning. Piling on too much product too often can oversaturate the leather, making it feel mushy and actually weakening its structure over time. Your best bet is to condition based on your work environment, not just because it's the first of the month.
Maintaining Factory-Waterproofed Boots
Lots of modern workboots come with a waterproof membrane like Gore-Tex built right in. These are fantastic right out of the box, but that doesn't mean you can just forget about them.
The outer material, whether it's leather or nubuck, still needs regular care. While that inner membrane is busy keeping water out, a soaked and waterlogged outer layer makes your boots heavy, cold, and kills their breathability. That means sweat gets trapped inside, leaving your feet feeling damp and miserable anyway.
Even with a waterproof liner, you need to treat the exterior with a suitable waterproofing spray or cream. This ensures water beads up and rolls off the surface, which is crucial for maintaining the boot's breathability and overall performance.
Regular care ensures both layers of protection—the inner membrane and the treated exterior—are working together like a well-oiled machine. Conditioning your boots biweekly with mink oil, for example, not only preserves waterproofing but can cut down moisture damage by a massive 70% in harsh conditions. Data from the Bureau of Labor Statistics shows that neglected boots also delaminate twice as fast when exposed to the caustic chemicals often found in manufacturing settings, highlighting just how critical consistent upkeep is for both performance and safety.
When to Repair and When to Replace Your Boots
Even the toughest, best-cared-for workboots have a shelf life. The real skill isn't just cleaning them, but knowing that critical tipping point where a simple repair won’t cut it anymore and a full replacement becomes a matter of safety. Catching these problems early does more than just save you from a potential jobsite hazard—it helps you make smarter calls about your gear budget.
This isn’t about throwing out a perfectly good pair of boots too soon. It’s about building a quick, proactive inspection habit that keeps your footwear safe, compliant, and ready for whatever the day throws at you.
Your Weekly Boot Inspection Checklist
Take five minutes every week, maybe right after you give them a good cleaning, to put your boots through a proper inspection. Don't just give them a quick glance. Pick them up, bend them, and get a real feel for their structural integrity. Knowing what to look for is the first step in preventing a catastrophic failure when you can least afford one.
Make it a habit to check these key areas:
- Sole Separation: Look closely at the welt—that's the seam where the upper part of the boot is stitched or glued to the sole. Try to gently pry at it with your fingers. If you see any gapping or separation, it’s a major red flag that the bond is failing.
- Stitching and Seams: Scan for any threads that are frayed, broken, or unravelling. Pay special attention to the high-stress spots, like where your foot flexes at the toe and around the heel. Compromised stitching is a clear sign the boot's entire structure is getting weak.
- Safety Toe Integrity: Press down hard on the composite or steel toe from the outside. There should be zero give or movement. Also, feel around on the inside to make sure the cap hasn't come loose or shifted, which could seriously compromise its protective power.
- Tread Depth and Wear: Flip your boots over and look at the outsole. Are the lugs worn down smooth? Uneven wear can point to problems with your gait or a breakdown in the boot's internal support, but a bald tread is just a slip hazard waiting to happen.
- Puncture Plate Condition: If you've got a puncture-resistant plate, inspect the bottom of the sole for any deep cuts, gouges, or embedded objects that might have pierced through and compromised the plate. You can't see the plate itself, but severe damage to the outsole is cause for concern.
Making the Call: DIY Fixes vs. Professional Help
Once you spot a problem, you have to decide: can I fix this myself, or is it time to call a cobbler? Some minor issues are easy enough to tackle at home, letting you squeeze some extra life out of your boots without a big repair bill.
Common DIY Repairs:
- Small Sole Gaps: For a minor separation at the toe or heel (we're talking less than an inch), a high-quality, heavy-duty shoe adhesive can often create a bond that's both strong and flexible.
- Worn Toe Caps: If the leather over your safety toe is scuffed right through, you can apply a durable toe guard compound. It's like adding a fresh layer of armour right where you need it most.
- Frayed Laces: This one's a no-brainer. Worn-out laces are an easy and cheap fix. Replace them immediately to make sure your boots are always fitting securely.
Some jobs, however, are absolutely best left to the pros. Major delamination of the sole, broken welt stitching, or any damage that compromises the core safety features of the boot needs professional attention. No question.
The big question often revolves around the economics of resoling. A full resole can feel like a big expense, but it’s often a brilliant financial move. This is particularly true if you've invested in a high-quality pair where the leather uppers are still in excellent condition.
Resoling can be an incredibly smart strategy, especially for premium boots designed for it. For a closer look at brands that are built to last, you can check out our review of popular KEEN workboots.
The Economics of Resoling
Deciding to resole or replace often just comes down to doing the math. High-quality workboots built with a Goodyear welt are specifically designed to be taken apart and resoled, sometimes more than once. This process can literally double the lifespan of your initial investment.
When a professional resole costs between $80 and $150, it makes a lot of financial sense compared to buying a new pair for $200 or more, assuming the uppers are still in good shape. This isn't just about saving money; it's about safety compliance. A huge percentage of workplace injuries affect the feet, and keeping your soles in top condition is non-negotiable.
In fact, something as simple as maintaining clean, deep treads can boost your traction by as much as 40%, which dramatically cuts down on slips and falls—a leading cause of workers needing multiple days off the job.
At the end of the day, proactive inspection and timely repairs are the foundation of any good boot maintenance plan. It's what ensures your gear is always ready to protect you.
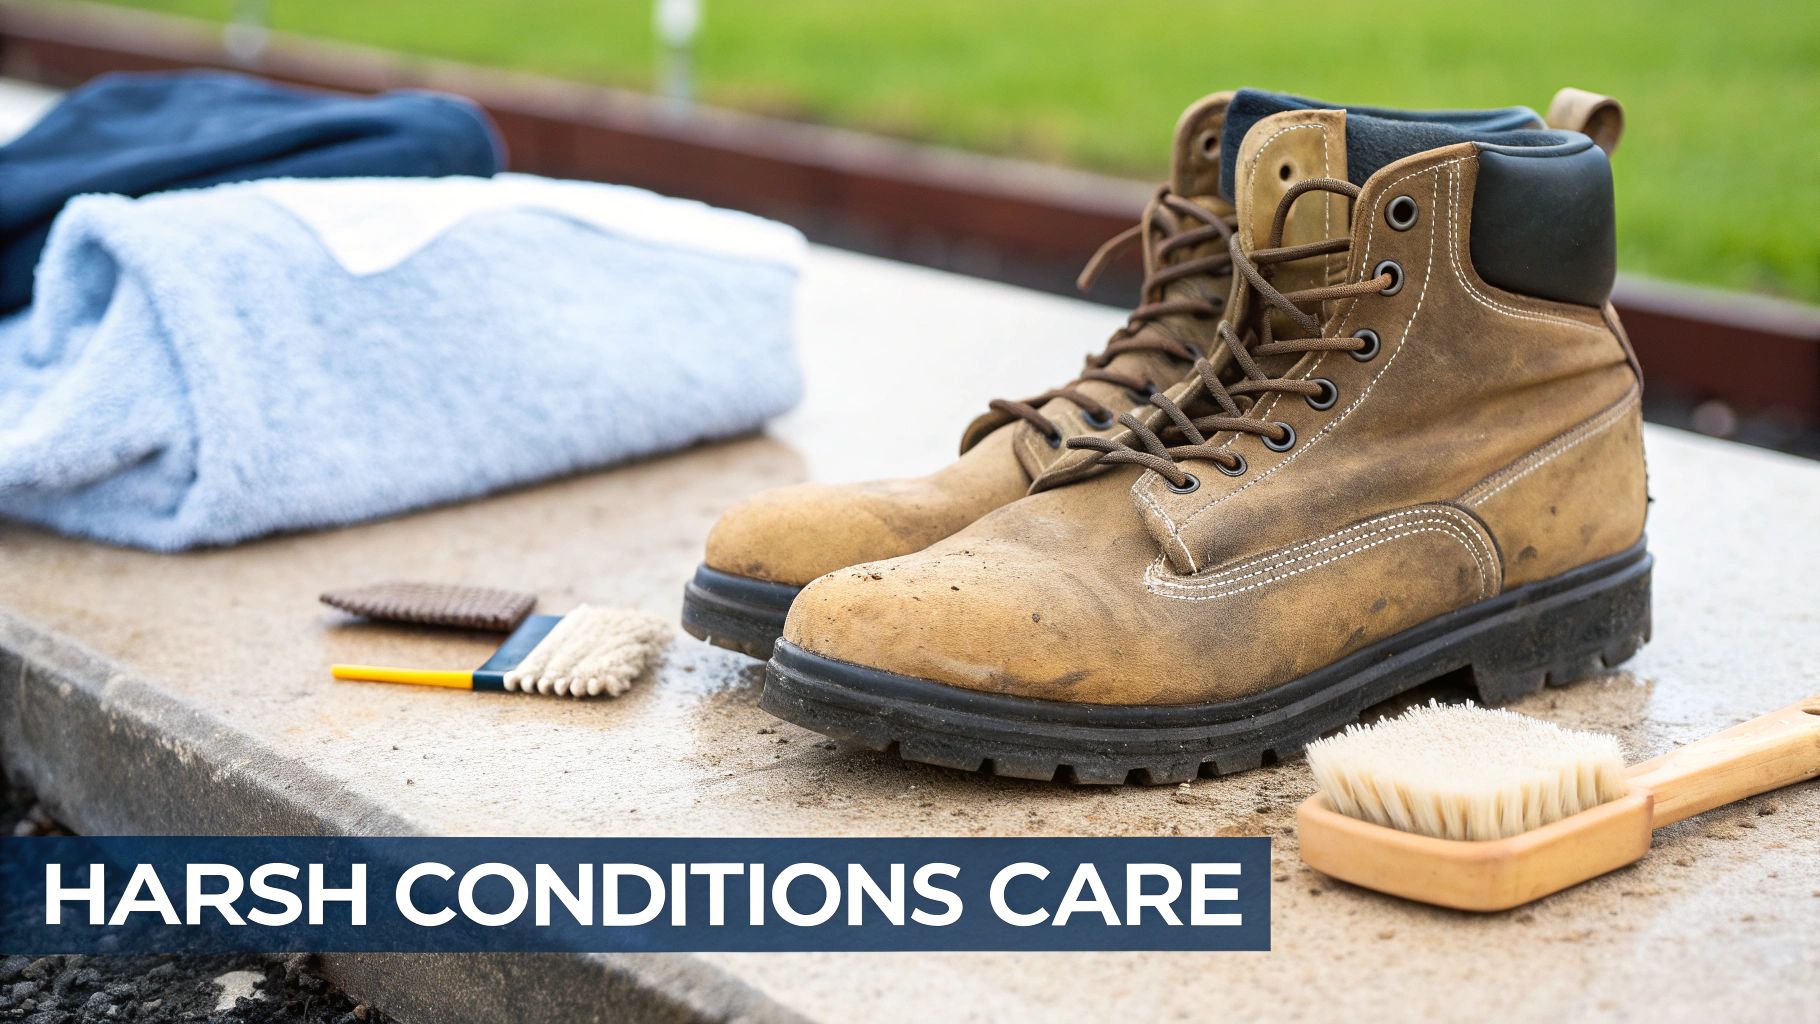
Advanced Care For Harsh Jobsite Conditions
Regular jobsite grime is one thing. Corrosive salt, slick oil, and harsh chemicals? That’s a whole different ball game. When your boots are up against extreme environments day in and day out, a standard cleaning just won't cut it. You need a targeted strategy to neutralize these aggressive elements before they cause permanent damage and compromise your safety.
This isn’t about scrubbing harder; it’s about using the right technique for the specific threat. Honestly, knowing how to deal with winter salt or garage grease can be the difference between a pair of boots lasting one season or five. It's about protecting your investment and, more importantly, your footing.
Winning The Battle Against Winter Salt
Road salt is a leather killer. Plain and simple. It sucks the moisture right out of the material, leaving those ugly white stains behind. Those stains aren't just cosmetic; they're salt crystals actively drawing out the leather's natural oils. Let that go, and you'll end up with brittle, cracked leather in no time.
To fight back, you have to act fast.
Mix up a simple solution of equal parts cool water and white vinegar. Get a clean cloth, dip it in, and wring it out well—you want it damp, not soaking. Gently wipe down the salt-stained areas. The mild acid in the vinegar does a fantastic job of dissolving and lifting the salt crystals without being too harsh on the leather.
Once you’ve treated the stains, give the entire boot a quick wipe with a different cloth dampened with just water. This removes any leftover vinegar. Let them air dry naturally, and whatever you do, keep them away from direct heat. After they're completely dry, it's crucial to follow up with a quality leather conditioner to put back all the essential oils the salt stripped away.
Removing Oil And Grease Without Damage
For mechanics, machinists, or anyone working around heavy equipment, oil and grease are just part of the job. But when those substances saturate your boots, they can seriously degrade the material and, even worse, reduce your traction.
The key here is to absorb the oil, not just smear it around. First, blot any fresh spills immediately. Then, get an absorbent powder like cornstarch or baking soda and sprinkle it generously over the stain. Now, you have to be patient. Let it sit for a few hours, or even overnight if you can. The powder will slowly pull the grease right out of the pores of the material.
After it's done its job, use a stiff brush to sweep away all the powder. If you still have a stubborn spot, a small amount of saddle soap on a damp cloth can be used to gently scrub the area. For major spills on tough jobsites, knowing how to use things like specialized oil spill absorbent pads can be a lifesaver for both the worksite and your gear.
A huge mistake I see people make is reaching for harsh chemical degreasers or solvents. They might work great on engine parts, but they will absolutely destroy your boots by dissolving the adhesives and permanently drying out the leather. Always start with the gentle, absorbent methods first.
The Critical Role Of Proper Boot Storage
Believe it or not, how you store your boots at the end of the day is just as important as how you clean them. Tossing them in a dark, damp locker is a one-way ticket to mildew and material breakdown. Proper storage is all about letting them dry completely and recover their shape.
-
Use Cedar Boot Trees: These are worth every single penny. Unfinished cedar is amazing—it naturally absorbs moisture, kills odours, and helps the boot hold its proper shape, which prevents the leather from collapsing and creasing.
-
Avoid Direct Heat: Never, ever leave your boots next to a radiator, a furnace, or in direct sunlight. That intense heat will literally cook the leather, causing it to shrink and crack. A cool, dry spot with good air circulation is what you're looking for.
-
Rotate Your Pairs: If you can swing it, owning two pairs of workboots and alternating them daily is the single best thing you can do for their lifespan. This gives each pair a full 24 hours to dry out completely, which drastically cuts down on moisture-related damage and odour.
For an extra line of defence against whatever the job throws at you, a good protectant spray can make a massive difference. A product like the Nano Power 4x4 Universal Work Boot Protector creates a barrier that repels water, oil, and stains before they can even soak in, which makes your next cleanup that much easier.
Got Questions About Workboot Maintenance? We’ve Got Answers.
Even with a solid routine, you're bound to run into questions about the nitty-gritty of boot care. From figuring out the right conditioning schedule to knowing which cleaners are safe, getting the right answers makes all the difference. We’ve rounded up some of the most common questions we hear to help you fine-tune your maintenance game.
These are the details that take your boot care from good to great, ensuring your gear stays in top form for the long haul.
How Often Should I Really Condition My Leather Workboots?
Honestly, there’s no magic number here. The best answer depends entirely on your jobsite and how much abuse your boots take. Forget a rigid, calendar-based schedule and instead, learn to read the leather. It’ll tell you when it’s getting thirsty.
If you’re working in constantly wet, muddy, or snowy conditions, you might need to apply a light coat of conditioner every two to four weeks. On the flip side, if your work is mostly indoors or in a dry climate, conditioning every one to three months is probably plenty.
Keep an eye out for these tell-tale signs:
- The leather starts to look faded or lighter in colour.
- The material feels stiff and doesn't flex as easily.
- You spot fine lines or tiny surface cracks starting to form.
When you see these signals, it’s time to condition, no matter when you last did it.
Can I Just Use Dish Soap to Clean My Boots?
Please don't. While it might seem like a quick and cheap fix, using dish soap on leather is one of the fastest ways to ruin your boots. Dish soap is a powerful degreaser designed to strip away oils—which is the complete opposite of what healthy leather needs.
It will suck out all the essential fats and natural oils that keep the leather’s fibres strong, flexible, and resilient. This leads to dry, brittle material that is guaranteed to crack and fail. Always, always stick to products made specifically for footwear, like a good saddle soap, which is formulated to clean thoroughly without causing that kind of damage.
Here’s a good way to think about it: You wouldn't wash your hair with dish soap because it would strip it of every natural oil. The exact same idea applies to the natural hide of your workboots. Give it the right treatment, and it'll last.
What’s the Safest Way to Dry Soaked Boots?
Patience is your best friend when it comes to drying out a pair of soaked boots. The absolute worst thing you can do is blast them with direct, high heat from a radiator, campfire, space heater, or even a hairdryer. This kind of intense heat will literally cook the leather, causing it to shrink, warp, and crack beyond any hope of repair.
The best method is slow and steady. First, pull out the insoles and laces to open the boot right up and get the air moving. Next, stuff them tightly with newspaper or paper towels. This acts as a wick, drawing the moisture out from deep inside.
Swap out the damp paper every few hours. Once the boots are just slightly damp to the touch, let them air dry the rest of the way in a room with decent airflow. If you deal with wet boots all the time, a boot dryer that uses gentle, low-temperature forced air is a fantastic and safe investment.
Will Conditioning Help Break In My New Boots Faster?
Yes, absolutely. This is one of the best tricks in the book for surviving the break-in period. New leather is often incredibly stiff right out of the box, and a good conditioning treatment does wonders to soften the material and make it more pliable.
A quality conditioner helps the leather stretch and mould to the unique shape of your foot much more quickly. Before you even wear them for the first time, apply a generous layer of conditioner. Pay extra attention to the key flex points, like around the ankle, the tongue, and across the top of your foot where it bends. This one simple step can cut down the break-in time and discomfort in a big way.
At Refinery Work Wear Canada, we understand that the right gear is essential for safety and performance. Our extensive collection of CSA-approved workboots is built to withstand the toughest conditions, and with the proper care, they’ll protect you for years to come. Explore our selection today and find the perfect pair for your jobsite needs. Learn more at https://canada.refineryworkwear.com.